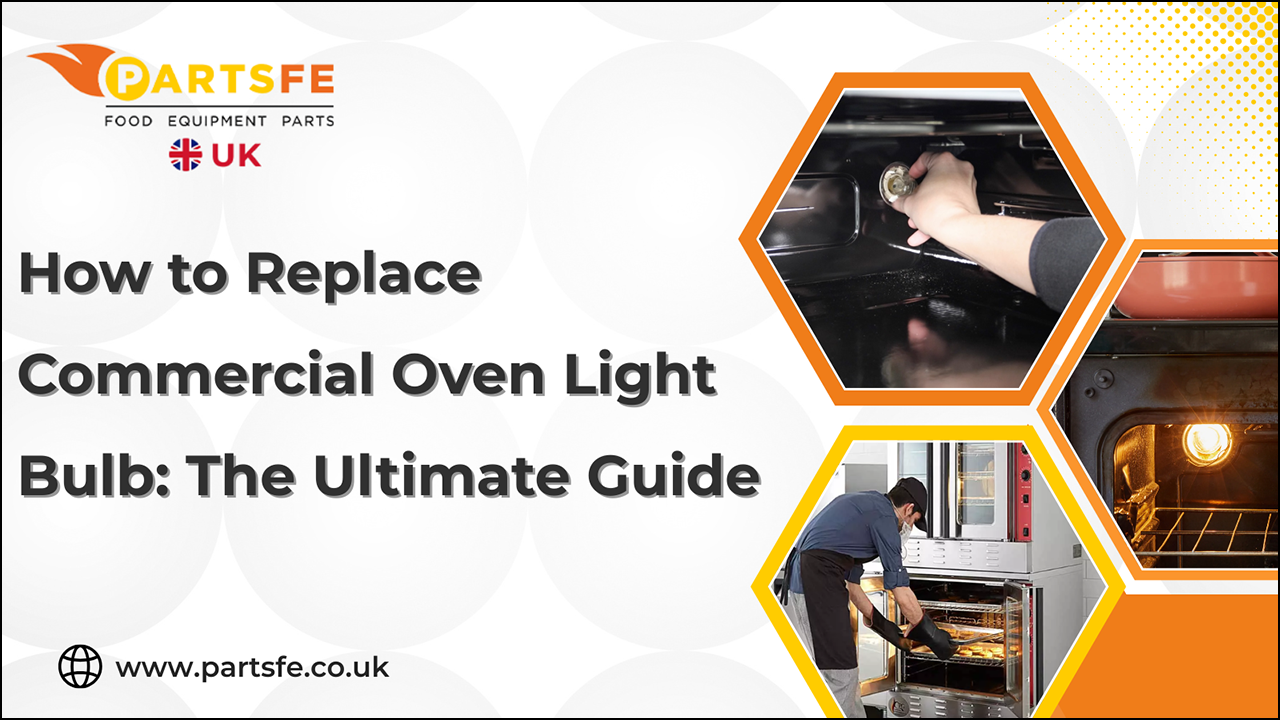
How to Replace Commercial Oven Light Bulb: The Ultimate Guide
A functioning oven light bulb is crucial in commercial kitchens, making it easier to monitor cooking progress and ensure that dishes are perfectly baked and roasted. Unfortunately, these bulbs often fail, leading to inconvenience and potential safety hazards. Common issues that may lead to an oven light bulb not working include burned-out bulbs, faulty wiring, or the bulb’s improper installation. Understanding the significance and functionality of a well-lit oven is essential, not just for efficiency but also for maintaining the quality of prepared dishes. This guide provides a comprehensive overview of the oven light bulb replacement process, ensuring you can confidently change the oven light bulb in your commercial oven. Follow the steps outlined below so you can maintain optimal oven performance and safety while minimizing downtime in your kitchen.
Understanding Oven Light Bulbs
Oven light bulbs play a vital role in any commercial or residential kitchen, allowing users to monitor food without opening the oven door and disrupting the cooking process. Choosing the right type of oven light bulb ensures better visibility, energy efficiency, and durability under high-heat conditions.
Types of oven light bulbs
Regarding oven light bulb replacement, it’s important to familiarize yourself with the various types of bulbs available. The three main types of light bulbs used in ovens are:
-
Incandescent bulbs: Traditional and affordable, incandescent oven light bulbs are designed to withstand high temperatures but typically have a shorter lifespan compared to other types.
-
Halogen bulbs: Known for their brightness and efficiency, halogen bulbs offer better light clarity and tend to last longer than incandescent options, making them ideal for high-performance ovens.
-
LED bulbs: Though not suitable for all oven models due to heat sensitivity, heat-resistant LED oven light bulbs are emerging in newer appliances for their longevity and energy efficiency.
Features to Consider in Oven Light Bulbs
When selecting oven light bulbs, it’s important to focus on specific features that ensure performance and safety:
-
Heat resistance: Not all bulbs can handle the intense heat inside an oven. Always choose bulbs rated specifically for high-heat environments.
-
Lifespan: Frequent replacements can be inconvenient and costly. Opt for bulbs that offer extended use, especially in commercial settings.
-
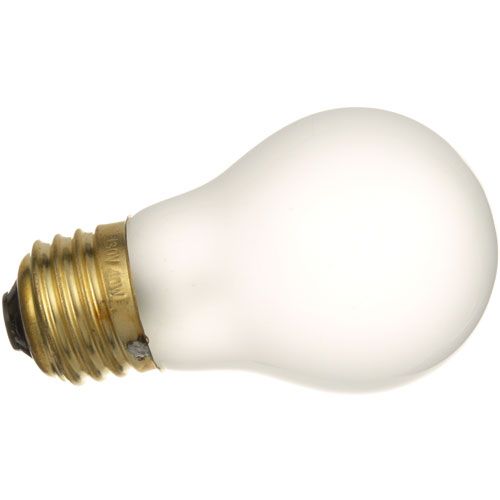
Brightness: A well-lit oven cavity improves cooking precision. The 40w oven light bulb is often bright enough to illuminate the entire interior without consuming excess energy.
Everything You Need to Know About Commercial Oven Parts
Common Signs Your Commercial Oven Light Bulb Needs Replacing
Recognizing the early symptoms of a failing bulb not only prevents inconvenience but may also help identify underlying electrical issues before they escalate.
-
Light doesn’t turn on: This is the most obvious sign of a burned-out bulb. Always check the power supply and light switch functionality before replacing the bulb.
-
Flickering or dim lighting: This may indicate a failing filament, loose bulb connection, degraded socket, or voltage fluctuations. Addressing it early prevents further wear.
-
Burnt-out filament or visible blackening: A broken filament or dark spots inside the bulb glass show the bulb is dead and needs replacement, common in older incandescent or halogen models.
-
A tripped breaker or blown fuse: A failed bulb may short-circuit and trip the breaker. If it happens repeatedly, professional electrical inspection is advised.
-
Inconsistent operation or delay in lighting: A bulb that lights only after several tries or delays is likely near failure. Corroded sockets or poor connections may also be the cause.
-
Noticeable heat damage or burn marks: Discoloration, warping, or burn marks near the bulb suggest overheating. Use a bulb rated for high-heat conditions during replacement.
Safety Precautions Before Replacement
Performing any maintenance on your oven should prioritize safety.
-
Turn off and unplug the oven: Ensure no power is running to avoid electrical shocks or accidents.
-
Allow the oven to cool: Wait at least 30 minutes after the previous usage to ensure that the interior is not too hot.
-
Use protective gloves: Wear gloves to avoid cuts from broken glass or burns from residual heat.
Tools and Materials Needed
Being prepared with the necessary tools can make the oven light bulb replacement process easier and more effective. Gather the following items before starting:
-
Replacement 40w oven light bulb: Ensure it’s the right type for your oven model.
-
Screwdriver or appropriate tool: Needed for removing the light bulb cover.
-
Protective gloves: For safe removal of the old bulb and installation of the new one.
-
Flashlight: Helpful for illuminating dark areas within the oven if necessary.
Steps on How to Replace Oven Light Bulb
Replacing the oven light bulb is a straightforward task if you follow these steps.
Step 1: Locate the oven light bulb
Open the oven door and look for the light bulb, which is normally located near the top of the oven cavity.
Step 2: How to remove oven light bulb
Use your screwdriver to carefully remove the light bulb cover. Depending on your oven model, it may twist off or require screws to be removed.
Step 3: Unscrewing the old bulb
Once unscrewed, grasp the old bulb gently and twist it counterclockwise until it comes free from the socket. Be cautious, as it may have residual heat if the oven was in use shortly before.
Step 4: Install the new oven light bulb
Take your new 40w oven light bulb and carefully screw it into the socket clockwise.
Step 5: Reattaching the cover and restoring power
Replace the cover by either twisting it back on or fastening screws. Once fastened, reconnect the oven and power it on to test the new bulb.
Choosing the Best Oven Light Bulb
Choose top-rated 40W oven light bulbs that are heat-resistant and built for high temperatures.
-
Look for trusted brands like GE, Southbend, and Feit Electric for durability.
-
Compare bulbs based on longevity, brightness, and compatibility with your oven model.
-
A reliable oven light bulb minimizes the need for frequent replacements.
-
Use only certified oven light bulbs to maintain safety and performance standards.
Maintenance Tips for Oven Light Bulb
To extend the life of your oven light bulb, follow these maintenance tips:
|
Tip |
Description |
|
Regular checks |
|
|
Clean the bulb cover |
|
|
Timely replacements |
|
|
Keep spares |
|
|
Preventive care |
|
Commercial Oven Rack Replacement Made Simple: The Ultimate Guide
Replacing oven light bulbs on time is critical for keeping your kitchen running smoothly. Follow the safety precautions, acquire the appropriate instruments, and carry out the replacement procedure meticulously. This not only improves the efficiency of your oven but also ensures food safety and quality during preparation. Remember to inspect and maintain your oven light bulb regularly to ensure it is always in working order. PartsFe UK is your one-stop solution for oven and cooker replacement parts, offering a wide selection for all types of ovens and commercial cookers from renowned manufacturers, all at competitive prices.
FAQs
Can I use a regular household bulb as an oven light bulb?
No, regular household bulbs are not designed to withstand the high temperatures inside an oven. It's essential to use a bulb specifically labeled as an oven light bulb, typically a 40w oven light bulb, which can handle the heat.
How often should I replace my cooker oven light bulbs?
The lifespan of a cooker oven light bulb varies based on usage and bulb quality. However, it's advisable to check the bulb periodically and replace it at the first sign of dimming or malfunction to ensure consistent oven performance.
Why a 40w oven light bulb is commonly used in commercial ovens
The 40w oven light bulb is a standard choice in many commercial ovens because of its optimal balance between brightness and durability. It offers clear visibility inside the oven without being too harsh or energy-draining.