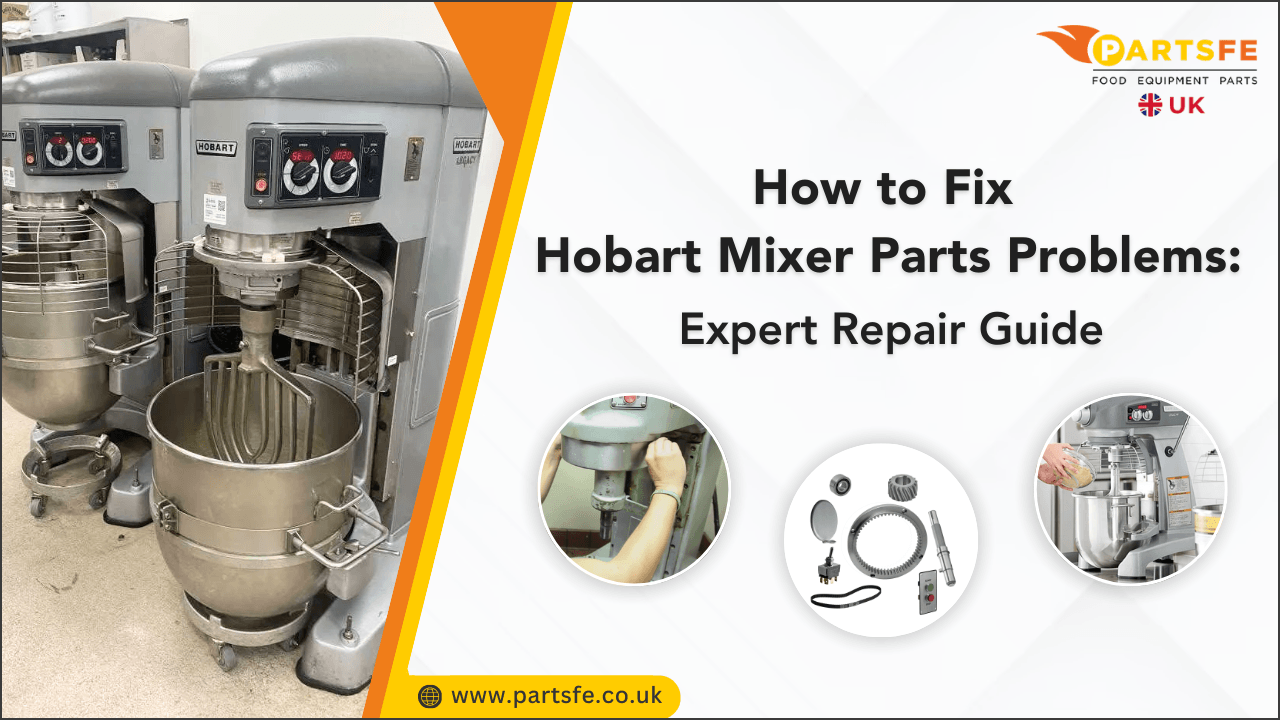
How to Fix Hobart Mixer Parts Problems: Expert Repair Guide
A Hobart mixer is the backbone of many commercial kitchens, but what happens when it suddenly slows down, makes unusual noises, or refuses to start? Even the most reliable mixers can develop issues over time due to worn-out components or heavy daily use. Ignoring these problems can lead to downtime, inconsistent mixing results, and costly repairs. The good news is that many common issues can be identified and fixed with the right approach. In this expert repair guide, we’ll explore how to troubleshoot and fix common Hobart mixer parts problems, helping you restore performance, extend equipment life, and keep your kitchen operations running smoothly.
What Causes Hobart Mixer Parts Problems?
Hobart mixers are built for heavy-duty use, but over time, mechanical and electrical issues can affect Hobart mixer replacement parts. Below are the most common causes:
-
Normal Wear and Tear: Commercial mixers operate under high loads, often running for extended periods. Gears, bearings, belts, and seals naturally degrade with constant friction and stress. Over time, lubrication breaks down, leading to increased resistance and component fatigue.
-
Improper Use: Overloading the bowl beyond its rated capacity strains the motor and transmission system. Using incorrect speed settings for dense dough can also accelerate wear on gears and agitator shafts.
-
Insufficient Lubrication: The transmission system depends on proper lubrication to reduce friction. Old or contaminated grease can harden, leading to overheating, grinding noises, and eventual gear failure.
-
Electrical Issues: Power fluctuations, worn wiring, faulty switches, or motor capacitor failure may prevent the mixer from starting or cause it to shut down unexpectedly.
-
Lack of Maintenance: Regular cleaning, lubrication, and inspection are crucial. Ignoring preventive maintenance can lead to premature wear of internal parts.
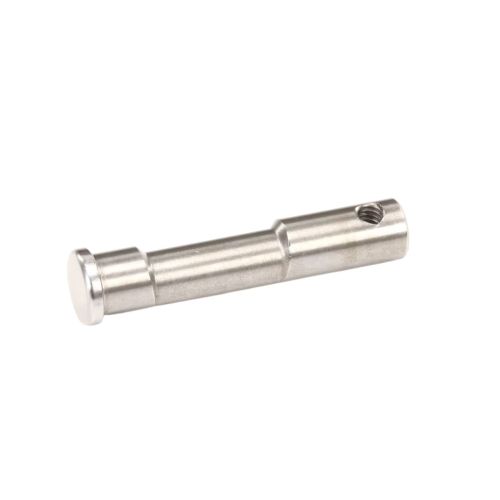
Looking to keep your Hobart mixers running at peak performance? Shop commercial kitchen spare parts, including mixer planetary shafts, dishwasher unions, ball bearings, and agitator shaft kits, to ensure reliable operation and optimal performance.
How to Fix Common Hobart Mixer Parts Problems
Hobart mixers are known for their durability and consistent performance in demanding commercial kitchens. However, like any frequently used equipment, certain parts may develop issues over time that affect the mixer’s starting mechanism, mixing performance, or internal components. Understanding the typical signs of part failures and addressing them early can prevent more serious damage. Here are the most common Hobart mixer parts problems and practical ways to troubleshoot and fix them effectively.
Mixer Won’t Start: When a Hobart mixer won’t start, the machine shows no response after switching it on. There may be no sound, no motor movement, or sometimes a faint humming noise without rotation. This issue completely stops kitchen operations and can delay production.
-
Cause: Faulty outlet, damaged power cord, defective start switch, blown capacitor, loose wiring, or tripped overload protection.
-
Solution: Test the outlet and inspect the power cord. Use a multimeter to check the start switch. Replace the capacitor if the motor hums but doesn’t run. Reset overload protection if needed. Electrical repairs should be performed by a certified technician.
Grinding or Knocking Noise: If your Hobart mixer produces grinding, knocking, or rattling sounds during operation, it indicates internal mechanical stress. These noises often become louder under load and signal potential transmission damage.
-
Cause: Worn gears, hardened or contaminated grease, failing bearings, misaligned components, or lack of lubrication.
-
Solution: Disconnect the mixer and inspect the transmission. Replace old grease with manufacturer-approved lubricant. Check gears and bearings; replace damaged parts. Early repair prevents gearbox failure.
Mixer Overheating: An overheating Hobart mixer may feel excessively hot to the touch, emit a burning smell, or shut down unexpectedly during operation. Continuous overheating can shorten motor lifespan and lead to permanent damage.
-
Cause: Overloading, blocked vents, incorrect speed settings, worn motor brushes, or insufficient lubrication.
-
Solution: Avoid exceeding the recommended bowl capacity. Use proper speed settings. Clean air vents, replace worn motor components, and refresh transmission grease. Persistent overheating requires professional motor inspection.
Agitator Not Turning: In this situation, the motor runs normally, but the agitator does not rotate. As a result, ingredients remain unmixed even though the machine appears operational.
-
Cause: Broken shear key, worn drive shaft, stripped gears, or damaged planetary assembly.
-
Solution: Remove the agitator and inspect the hub. Replace the broken shear key. Examine the drive shaft and gears for wear or misalignment. Tighten or replace planetary components as needed. Shear key replacement is typically quick and cost-effective.
Oil Leaking from Gear Housing: Oil or grease leaking from the mixer’s planetary or gear housing may appear as dripping lubricant or visible grease around the base. This can create sanitation concerns in food preparation areas.
-
Cause: Worn oil seals, damaged gaskets, degraded grease, excessive pressure, or overfilled gearbox.
-
Solution: Disassemble gear housing and replace seals and gaskets. Clean out old grease and apply fresh, food-grade lubricant. Maintain proper lubrication levels during reassembly to prevent damage and maintain hygiene.
Speed Control Not Working Properly: The mixer may fail to change speeds, operate inconsistently, or remain stuck at one speed setting. This affects mixing quality and can strain the motor.
-
Cause: Misaligned speed linkage, worn control plate, bent shift fork, or faulty electronic control board in newer models.
-
Solution: Adjust the speed linkage. Replace worn plates or damaged shift forks. For electronic mixers, have a technician check the control board. Proper speed ensures consistent mixing performance.
Fixing minor issues early can help maintain consistent mixer performance and reduce unexpected kitchen downtime. For additional reference, consulting a Hobart Mixer troubleshooting manual may provide helpful guidance when diagnosing more complex problems.
Check out our video guide on Hobart A200 mixer replacement parts to see how to identify, troubleshoot, and replace key components for optimal performance.
Preventive Maintenance Checklist to Avoid Hobart Mixer Breakdowns
Regular preventive maintenance is essential for keeping your Hobart mixer running smoothly and prolonging its lifespan. The table below lists key tasks by frequency to help maintain optimal performance.
|
Maintenance Frequency |
Maintenance Task |
Purpose / Benefit |
|
Daily |
Wipe down exterior surfaces |
Prevents the buildup of grease, flour, and debris that can affect performance and hygiene |
|
Clean attachments thoroughly |
Reduces contamination risk and prevents hardened residue from affecting the operation |
|
|
Inspect for unusual noises or vibrations |
Allows early detection of gear, bearing, or alignment issues |
|
|
Weekly |
Check the bowl lift mechanism for smooth operation |
Ensures proper bowl alignment and prevents strain on lift components |
|
Inspect the agitator shaft for wobbling |
Identifies worn bearings or loose internal parts early |
|
|
Ensure ventilation openings are unobstructed |
Promotes proper airflow and prevents motor overheating |
|
|
Monthly |
Examine power cords and plugs |
Reduces risk of electrical hazards or startup failures |
|
Test safety interlocks and switches |
Ensures compliance with safety standards and prevents accidental operation |
|
|
Inspect planetary seals for leaks |
Detects early signs of lubricant leakage and seal wear |
|
|
Annual |
Replace transmission grease |
Maintains proper lubrication and reduces internal friction |
|
Inspect gears and bearings |
Identifies wear before it leads to transmission failure |
|
|
Conduct a professional electrical system inspection |
Ensures motor efficiency and prevents unexpected electrical breakdowns |
When to Replace vs. Repair Hobart Mixer Parts
Regular maintenance can often extend the life of your Hobart mixer parts, but some issues require full replacement to ensure safe and efficient operation. See the table below for clear guidance on whether each component should be repaired or replaced.
|
Issue / Component |
Repair |
Replace |
|
Shear key |
Swap out a broken or slightly worn key to restore agitator rotation. |
If the key is cracked, stripped, or excessively worn. |
|
Gears / Transmission |
Clean, re-lubricate, and realign to reduce noise and restore smooth operation. |
If gears are stripped, cracked, or severely worn. |
|
Motor brushes |
Clean or reposition brushes to maintain proper motor function. |
If motor performance remains poor after servicing. |
|
Bearings |
Lubricate and adjust to reduce vibration and grinding noise. |
If bearings are noisy, seized, or worn beyond tolerance. |
|
Oil seals / Gaskets |
Clean and apply food-grade lubricant to prevent leaks and maintain hygiene. |
If seals or gaskets are leaking, hardened, or torn. |
Summary: Expert Guide to Fixing Hobart Mixer Parts Problems Efficiently
Maintaining Hobart mixers is essential for consistent performance and long-lasting operation in commercial kitchens. Regular inspection, preventive maintenance, and timely servicing of worn components prevent unexpected downtime and costly repairs. Understanding when to service or address critical wear ensures safe, efficient mixing. Following these expert tips keeps your mixer running smoothly and extends its lifespan.
Key Takeaways:
-
Inspect gears, bearings, and shear keys regularly to detect early wear.
-
Clean and lubricate transmission and planetary components for smooth operation.
-
Check motor brushes, switches, and wiring to prevent electrical failures.
-
Monitor oil seals and gaskets to avoid leaks and maintain hygiene.
-
Follow a daily, weekly, monthly, and annual preventive maintenance schedule.
FAQs
How to repair a Hobart A200 mixer with gear engagement issues?
Gear engagement problems happen when the shear key, gears, or planetary hub is worn or misaligned. Turn off the mixer, remove the agitator, inspect and lubricate the parts, replace any damaged components, and test the mixer at low speed.
How to fix Hobart mixer engagement issues?
If the mixer motor runs but the agitator doesn’t move, check the shear key, drive shaft, and planetary assembly for wear or looseness. Clean and lubricate the parts, realign the assembly, and replace any broken components.
|
Disclaimer: This content is for informational purposes only. Maintenance and repair procedures can vary depending on your Hobart mixer model, so always follow the manufacturer’s instructions. Use this information responsibly, as we cannot be held liable for any damage, injury, or loss. |