We use cookies to make your experience better. To comply with the new e-Privacy directive, we need to ask for your consent to set the cookies. Learn more.
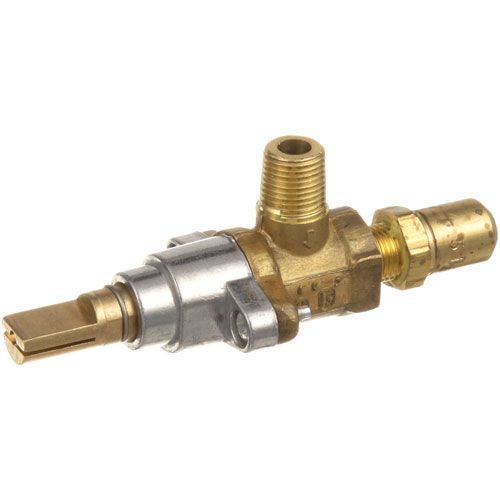
Southbend 1178202 Range Valve 1/8"MPT X 3/8-27
Special Price £67.38 Regular Price £88.51
Out of stock
SKU
1178202
Manufacturer:
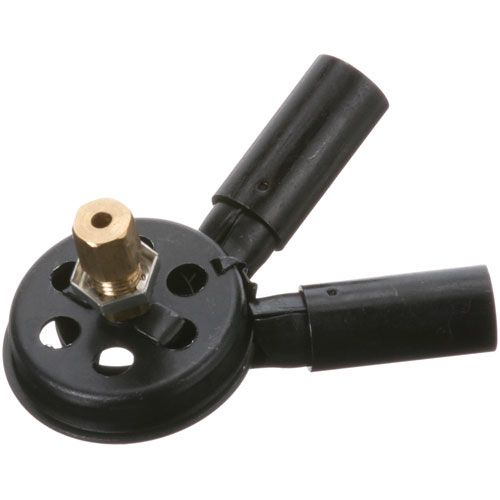
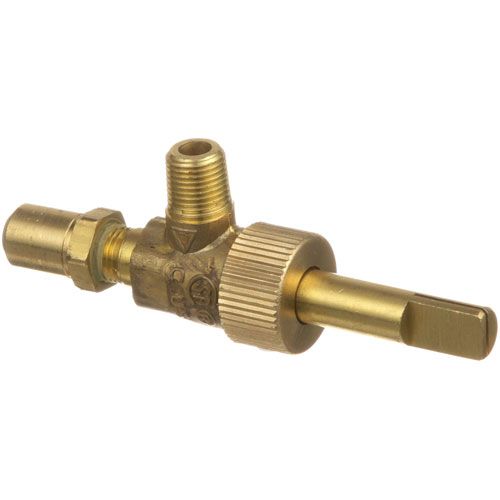
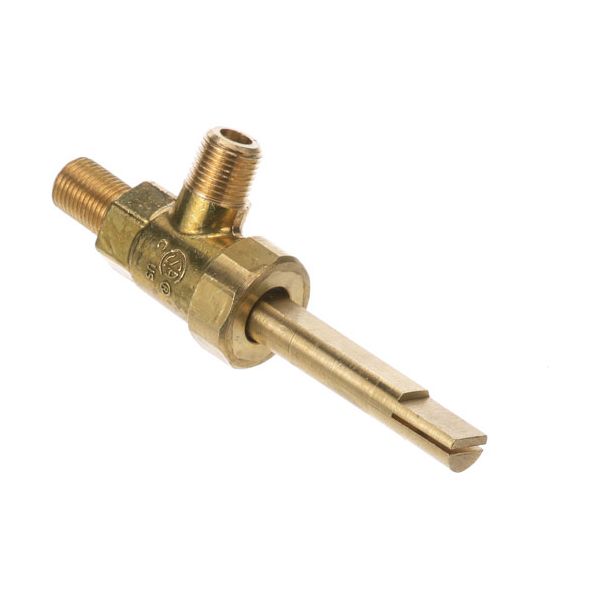
The Southbend 1178202 Range Valve is the better gas burner valve for cooking equipment in the market. It has a 1/8” MPT inlet and a 3/8”-27 outlet to enable the regulation of the amount of gas supplied to the burner. This type of valve is manual in operation it allows users to control the flame production for different uses in cooking. It is built to be high and durable and will meet all the necessary requirements for a restaurant environment. Advantages include increased safety, improved cooking performance, and compatibility with other Southbend models for optimal performance in high-usage kitchens.
Dimensions
- Weight: 0.015 kg
| Manufacturer Name: Southbend Product Number: 1178202 OEM Part Number: 1178202 Product Description: 1/8" Mpt X 3/8-27, With Notch For Set Screw, Nat/Lp, Stem;Length From Valve Body: 1-3/4" Similar Models:Z1178202 - Blodgett, 2J-1178202 - Star-Mfg, 2J-1178202 - Toastmaster--See-Middleby-Marshall Dimensions: Length:3.5in/8.89cm Width:1.5in/3.81cm Height:1in/2.54cm Weight:0.16lbs/72.57g |
Choose the best Commercial kitchen & Restaurant equipment parts and supplies from PartsFe UK!
Same Day Shipping
Best Quality And Best Price
Wide Range of Inventory
Best Customer Service
Have More Questions or Need Help to Place The Order?
Reach us at +44 2921680023 or contact@partsfe.co.uk
| Disable Saleable | Yes |
|---|
SOUTHBEND:
STAR MFG:
STERO:
STA1178202, STA2J-1178202, STA2J1178202
Write Your Own Review
Customer Questions
We strive to provide our customers with a hassle-free and efficient shopping experience. Our shipping policy ensures the timely delivery of your orders and complete customer satisfaction. View More
We are committed to ensuring your complete satisfaction with every purchase. We understand that circumstances may arise where you must return a product or request a refund. If for any reason you are not satisfied, you may return the item(s) according to the terms outlined below. View More
This Payment Policy outlines the terms and conditions governing all payments made for products purchased through our website. By making a purchase, you agree to be bound by this Payment Policy. View More
Installation Steps
Step 1: Start by turning off the gas supply and unplugging the broiler from its power source.
Step 2: Wait for the broiler to reach room temperature before proceeding with the installation.
Step 3: Identify the current broiler valve and detach the gas lines along with any electrical connections.
Step 4: Take out the old Southbend 1178202 valve from the broiler unit.
Step 5: Place the new infrared broiler valve in the correct position and firmly reconnect the gas lines and electrical wiring.
Step 6: Turn the gas supply and power back on, then check the broiler to ensure it ignites correctly and maintains consistent heat output.