Hoshizaki 4A7246A02 Icemaker Sensor Assembly DCM-500/750-OS

Special Price £209.60 Regular Price £296.95
In stock
SKU
4A7246A02
Manufacturer:
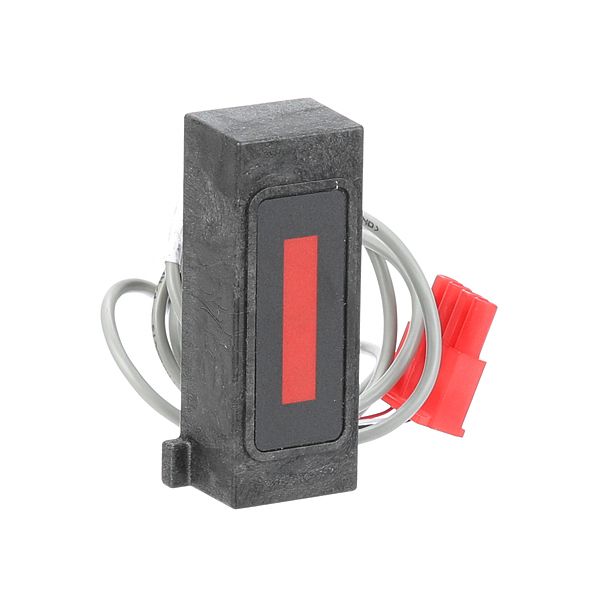
The Hoshizaki 4A7246A02 Sensor Assembly is a fine component to be in DCM-500 and DCM-750-OS ice machines. This sensor system is used to check the production of ice and this sensor system is used to indicate when the ice has reached the right level and to inform the system to regulate the freezing and harvesting process. It is mounted in the icemaker compartment, where it is directly connected to the control board of the machine so that it will operate consistently and not overproduce or overflow. It's ensuring efficient operation and consistent ice production in commercial refrigeration settings by giving the appliance the right.

Dimensions

  • Length: 2.54 cm
  • Width: 2.54 cm
  • Height: 2.54 cm
  • Weight: 0.454 kg
https://partsfe.com/media/catalog/product/h/o/hoshizaki-4a7246a02-sensor-assembly-dcm-500-750-os-90225-2.jpg
More Information
Disable SaleableYes
Write Your Own Review
You're reviewing:Hoshizaki 4A7246A02 Icemaker Sensor Assembly DCM-500/750-OS
Your Rating
Customer Questions
No Questions

We strive to provide our customers with a hassle-free and efficient shopping experience. Our shipping policy ensures the timely delivery of your orders and complete customer satisfaction. View More

We are committed to ensuring your complete satisfaction with every purchase. We understand that circumstances may arise where you must return a product or request a refund. If for any reason you are not satisfied, you may return the item(s) according to the terms outlined below. View More

This Payment Policy outlines the terms and conditions governing all payments made for products purchased through our website. By making a purchase, you agree to be bound by this Payment Policy. View More

Installation Steps

Step1: Turn off the power to the appliance.

Step2: Remove the old sensor assembly from the evaporator or control board.

Step3: Inspect the mounting area for damage or corrosion.

Step4: Install the new sensor in the same position.

Step5: Reconnect all wiring and secure clips.

Step6: Ensure the sensor tip is positioned correctly for accurate readings.

Step7: Power on the appliance and test sensor response.